
Setting Up Your First Pedalboard
Signal chain, power and cable order, explained without the jargon. The order that works, why gain pedals go before time-based effects, and how to fix a noisy board.
Start with the signal chain
A pedalboard is just a signal chain you can carry. Your guitar's signal flows through each pedal in turn, and every pedal colours whatever reaches it. Get the order right and the board does what you expect; get it wrong and you spend months wondering why your drive pedal sounds thin.
Here is the order that works for most players, and the reasoning behind it.
The standard order
- Tuner first. A tuner wants the cleanest possible signal straight from the guitar, before anything else has a chance to affect the pitch it reads. A clip-on tuner like the BOSS TU-03 sidesteps the question entirely, but if you are using a pedal tuner, it goes at the front.
- Dynamics and utility next. Compressors, volume pedals and noise suppressors. These work on the raw signal rather than on an already-distorted one. A Boss NS-2 Noise Suppressor placed here cleans up the noise that gain pedals later introduce.
- Pitch effects. Octave, harmoniser and pitch shifters. These track best on a clean, unclipped signal.
- Drive pedals. Booster, then overdrive, then distortion, then fuzz - in that order, from least clipping to most. This is the part of the board where the character of your tone is decided.
- Modulation. Chorus, flanger, phaser and tremolo. These create movement, and they sound most natural applied to a signal that has already been shaped.
- Delay and reverb last. These create the sense of a space around your sound, so they go at the end.
Gain pedals go before time-based pedals
The single most useful rule is that pedals which create tone go before pedals which modify tone. Overdrive, distortion and fuzz create your core sound. Modulation, delay and reverb decorate it. Swap them round and you are decorating a sound that does not exist yet.
Power: the part most people get wrong
Cheap daisy-chained power supplies are the most common cause of a noisy pedalboard. Digital pedals in particular inject high-frequency noise back down the power line, and every analogue pedal sharing that chain picks it up.
The fix is an isolated power supply, which gives each pedal its own electrically separate output. Something like a Strymon Zuma costs more than a daisy chain and solves a problem you cannot fix with anything else. It is the single best upgrade you can make to a noisy board.
Check the current draw of each pedal and add it up - most pedals need 100 mA or less, but some digital delays and reverb units want far more. Make sure your supply covers the total with headroom to spare.
Mounting and cables
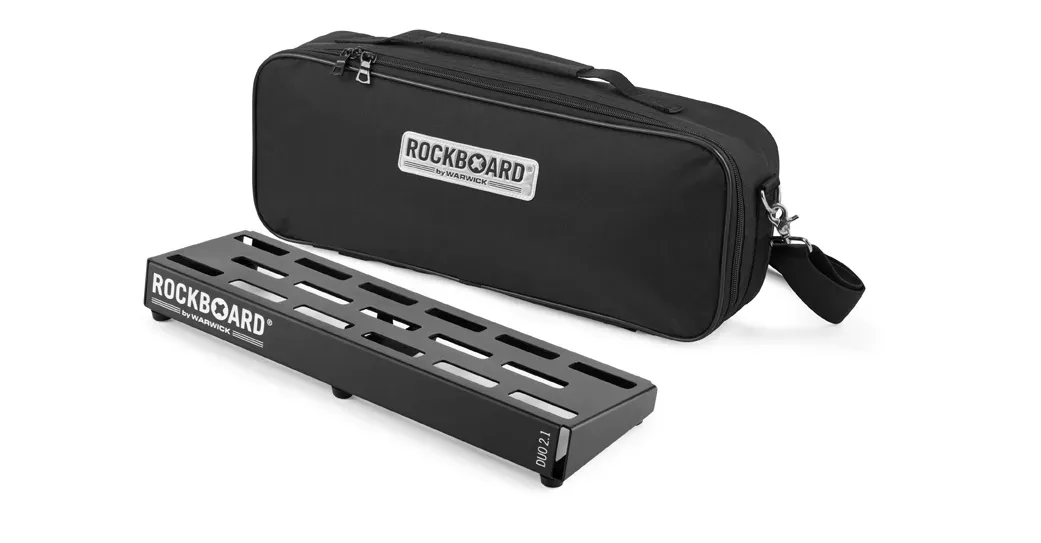
A board with a fitted gig bag is worth the small premium. The RockBoard DUO 2.1 holds a modest board securely and carries like a small suitcase, which matters when you are the one loading in.
Use low-profile patch cables to keep the spacing tight, and make a solderless set your friend if you change pedals often. A PatchWorks solderless set lets you cut cables to the exact length you need, which is how tidy boards stay tidy.
Keep the underside in order
Route power and audio cables apart where you can - crossing them at right angles rather than running them parallel reduces hum. Fix everything down with cable ties or velcro so nothing works loose in transit, and leave a little slack so a knock does not pull a jack out of a pedal.
Where to start
If you are building your first board, start with a tuner, one drive pedal and one delay. Add a board with a bag so you can carry it, then add the isolated power supply once you notice noise. That sequence gets you a working, quiet board without buying anything you will not use.
Related Articles & Videos
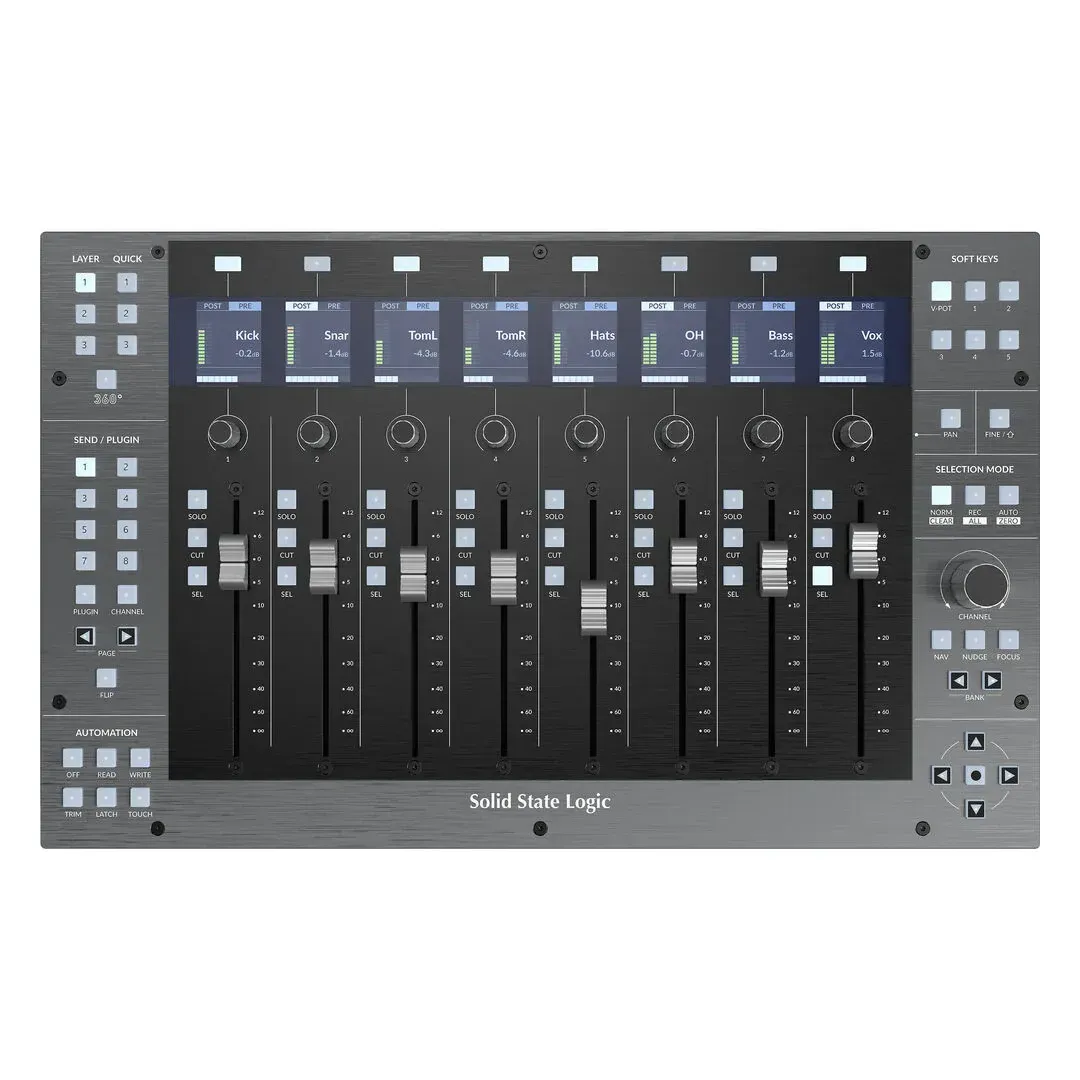
The SSL UF8 and UC1 bring console-style tactile control to your DAW. Here is how to build a professional mixing workflow with SSL's DAW controllers, and how the UF1 fits in.
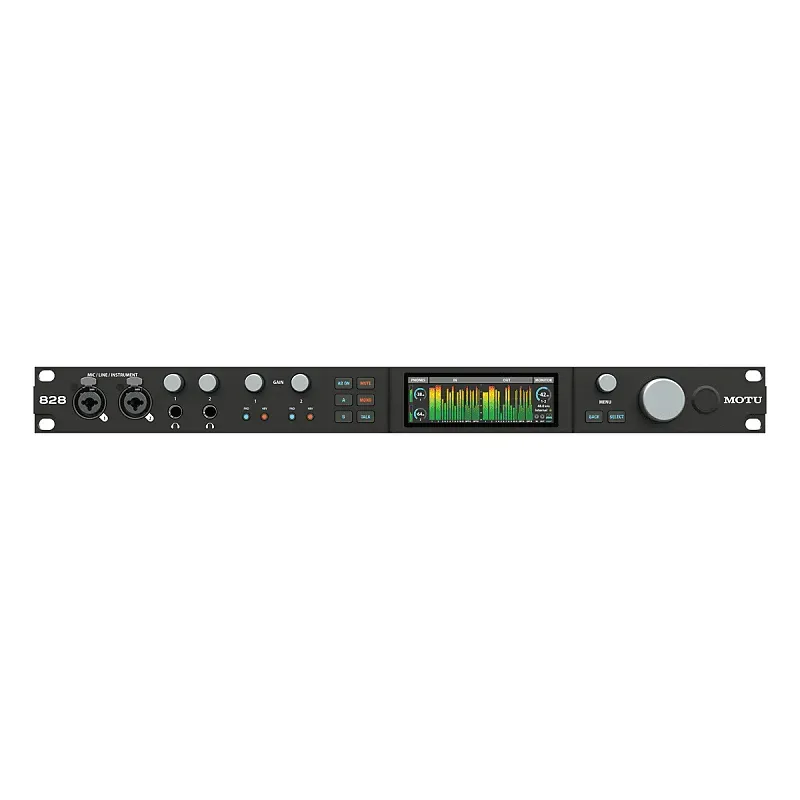
The MOTU 828 and UltraLite Mk5 both offer serious I/O for the money. We compare them, and place the M2, M4, M6, 8pre-es and 16A in the range, so you can pick the right one.
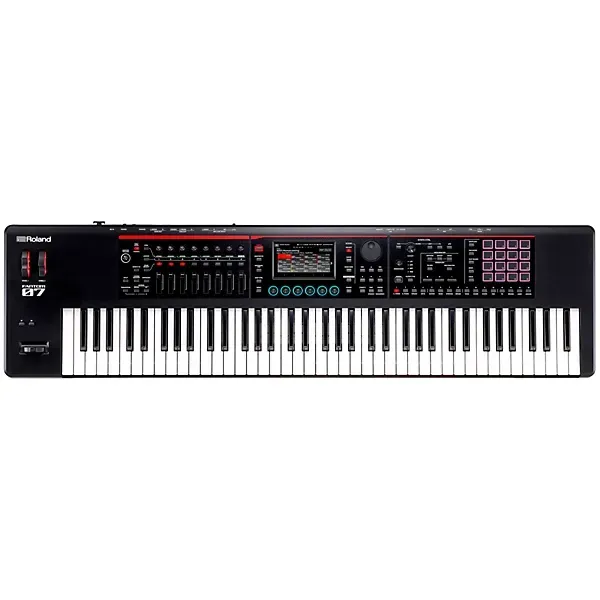
The Roland FANTOM-07 puts a deep synthesis engine, fast touchscreen workflow and real DAW integration into a 76-key instrument. Here is how it holds up, and how to choose between the FANTOM-06, 07 and 08.