VALVE VS SOLID-STATE AMP: WHICH IS BETTER?

The landscape in terms of guitar amplification has  been in a state of constant change from the very beginning. 

At first a valve amp / tube amp was the only option players had. With amplification in it’s early stages, high volume and high wattage was the name of the game. You had to make sure your guitar amps sounds had to reach the very back of the venue on its own steam.

Enter the mid-1970’s and the silicon transistor had wormed it’s way into practically all forms of technology, including guitar amplifiers. Lightweight, easy to build, and most importantly, inexpensive, transistor amps became the choice for many guitarists, from beginners to pro’s.

Innovation doesn’t end there, though. The most recent revolution in guitar amplification is modeling amplifiers. Brought about by the digital revolution, modeling amps algorithmically recreate amp sounds of all types, and continue to push boundaries to create new sounds and tones as time goes on.

It’s difficult to make a clear argument for any one of these being “better” than another, but they certainly are different, and many players have their preferences or even steadfast assertions, one way or another. For this reason we’re going to break down the primary differences between them, as well as some of their pro’s and con’s.

Valve / Tube Amps

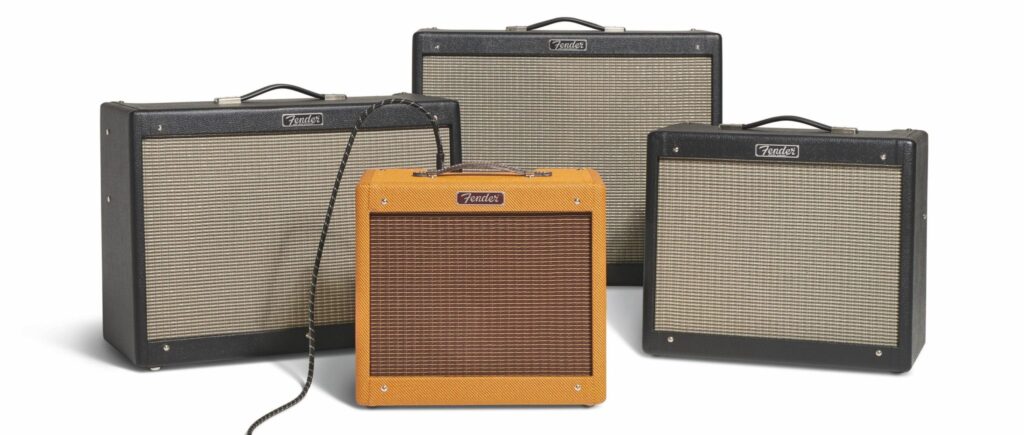
Listen to music from before 1970, and it is almost guaranteed that you’ll hear a vintage valve amp from Marshall stacks to the Fender Hot Rod Deluxe. That’s because, like we mentioned before, nothing else was around. Of course during this period of time, a lot of iconic guitar music was released, and along with it, a lot of iconic guitar tones. For this reason, valve amps often represent the tone many players pine for.

When talking about valve amps you’ll often hear terms like “organic” and “natural compression” thrown around. This is because, these are inherent characteristics of valve amps, they are the original standard all guitar amps are based on.

This technology does come with it’s downsides though. Price, weight and maintenance being the primary culprits here.

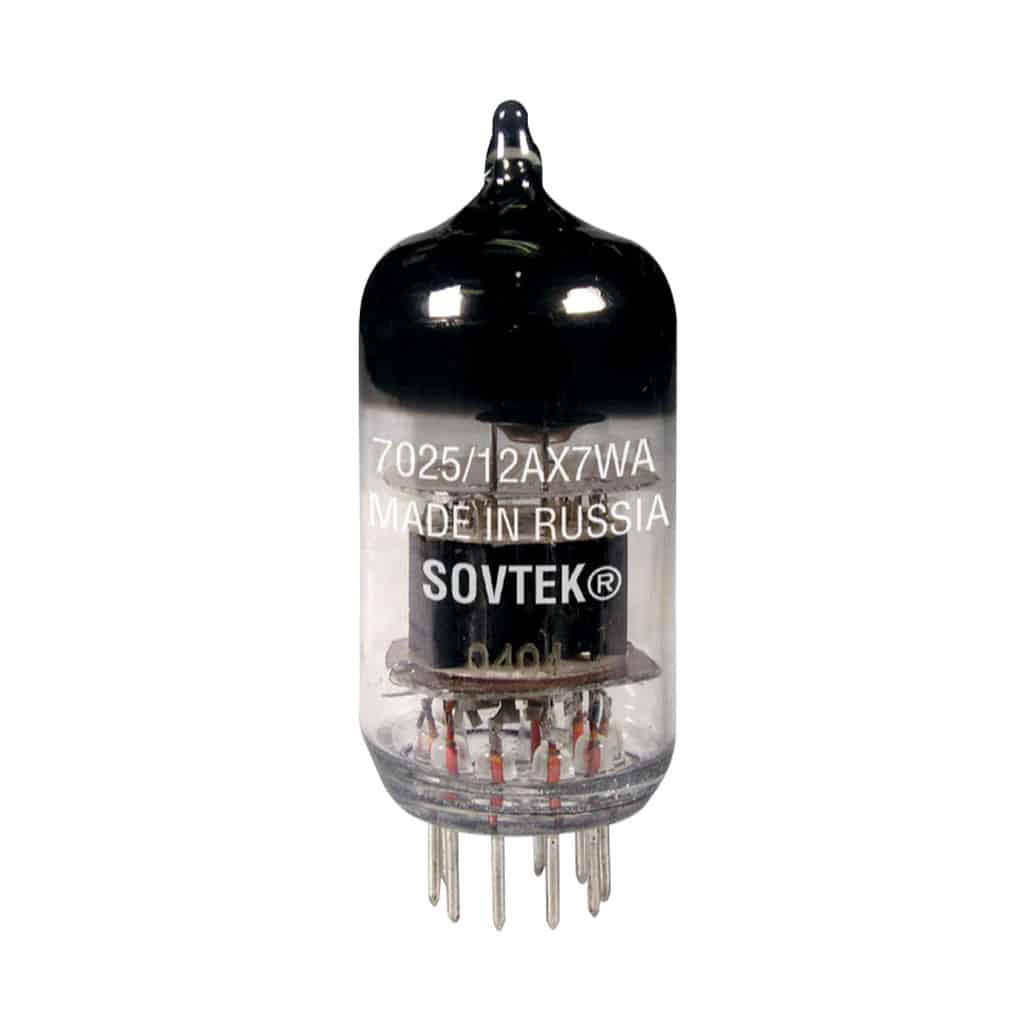
Price – Valve amps are intricately designed and built with rather fragile components (the glass valves). This comes at a premium, with many valve amps coming in at prices a few multiples higher than a solid-state equivalent.

Weight – Heavy components like transformers make valve amps a seriously heavy category of amplifiers. If you’re going to be lugging your amp around, it’s definitely advisable to check in on the weight before making your purchase.

Maintenance – Another consequence of this old-school design is the requirement for maintenance. All valve amps will need new valves and a re-biasing at least a few times in their lifespan. This is time consuming, and can be costly. It’s also important to note that  valves are prone to breaking if the amp is not handled properly.

The Verdict 

If you’re looking for the exact naturally compressed, organic distortion, sound in your head with no compromises, the right valve amp will deliver that like no other. But if you’re looking for a bit of versatility, or a lower cost… keep reading.

Solid State / Transistor Amps

While there is some debate, the Hagström GA-85, released in 1963, is widely considered to be the first transistor guitar amplifier. In the same year, the Gibson Starfire series was released. People were slow to adapt to transistor amps at first, but by the mid-70s, they had become a standard option.

One of the reasons that solid-state amps took off was thanks to their lower cost. Since there are no valves involved, and transistors can be mass-produced, the price for a transistor amp is (usually) significantly more economical than a valve counterpart.

But less expensive, in this case, does not ‘necessarily’ mean worse. Different, though? Absolutely.

It is far easier to build transistor amps to a higher wattage, allowing for a lot more clean headroom. This was iconically characterized with Roland’s Jazz Chorus amps, which have the ability to reach very high volumes with a beautifully clean tone. 

The other side of this is one the biggest disadvantages for most solid-state amps is that when they are pushed to the max, they will start clipping, whereas a valve amp will smooth itself out and produce their signature natural overdrive.

Does this means solid-state amps can’t play distortion/overdrive sounds? 

Absolutely not! While it isn’t achieved in the same way, transistor amps have developed over the years to create incredibly high quality drive sounds. This is thanks to the advent of Amplifier Modeling.

As we mentioned earlier, modeling amps are fully digital systems that algorithmically recreate amp sounds. This has turned the world of amplifiers on it’s head, and lead to a state of almost constant progress. Year after year, amp models are getting better and better, and fewer and fewer people are able to tell them apart from original valve amps.

If you’re looking for excellent tone, maximum versatility, and are on a bit of a budget, there are many excellent options within the world of modeling.

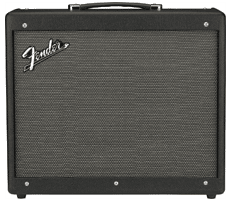
Fender’s newly unveiled Tone Master Super Reverb is the perfect example of modern modeling.  It is a perfect modeled replication of the valve circuitry of the original amp using Fender’s proprietary Tone Master modeling system.

The Fender Mustang GTX Series is the flagship range of modeling amps from Fender, offering hundreds of effects and amps models.

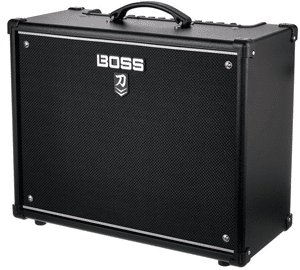
The Boss Katana range is Roland’s answer to premium guitar amp modeling on a budget. Easy to use, excellent sounding, and expandable.

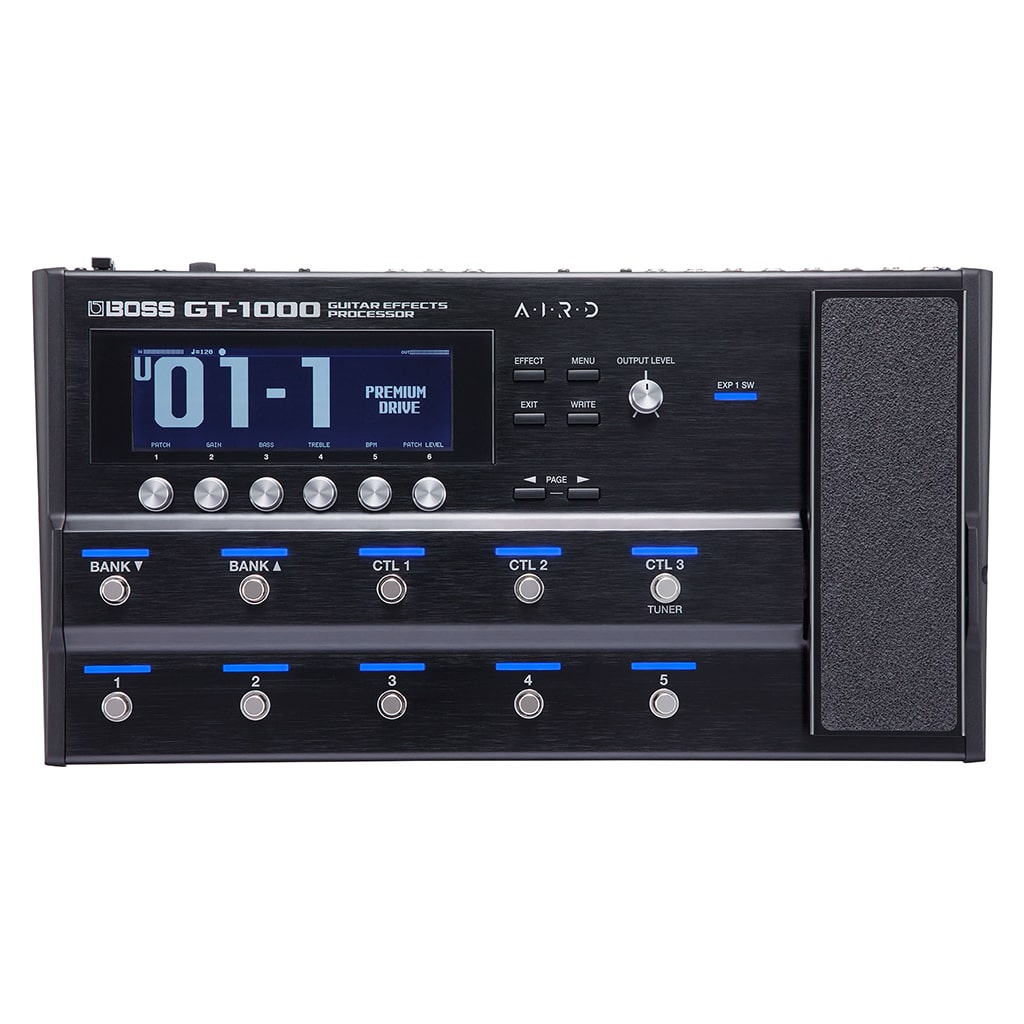
The Boss GT series – An amp isn’t even always necessary these days. There are incredible amp simulators and models included in multi-effect pedalboard like the GT series from Boss. Simply plug directly into the PA at the gig, or your PC at home, and you’re good to go. Find out more about the Boss GT1000

No matter what your needs, there’s an amp for you. Take your time and figure out what you want to get out of it before jumping in on any hype-train.

If you’re looking for any further help or advice, feel free to contact us.

Mixing music is the art and science of blending multiple audio tracks together to create a cohesive and balanced sound. It’s a crucial step in the music production process that can significantly impact the overall quality of your final product. If you’re new to mixing, don’t worry! This guide will provide you with some essential tips and tricks to get you started.

Essential Equipment

Before you begin, ensure you have the necessary equipment:

  • Digital Audio Workstation (DAW): This software is the heart of your mixing setup. Popular options include Ableton Live, Logic Pro, FL Studio, and Pro Tools.
  • Audio Interface: This device connects your audio equipment to your computer, allowing you to record and monitor audio.
  • Studio Monitors: These speakers are designed to provide a flat frequency response, essential for accurate mixing.
  • Headphones: A good pair of headphones can help you catch subtle details in your mix.

Mixing Fundamentals

  1. Gain Staging: This involves setting the appropriate input and output levels for each track to prevent clipping (distortion) and ensure a clear signal.
  2. EQ (Equalization): Adjust the frequency content of each track to shape its sound. Cut frequencies that are too prominent and boost frequencies that need more attention.
  3. Compression: Reduce the dynamic range of a track to control its volume fluctuations.
  4. Panning: Distribute the sounds across the stereo field to create a sense of space and depth.
  5. Reverb and Delay: Add effects like reverb and delay to create a sense of atmosphere and space.

Understanding EQ

EQ, or equalization, is a fundamental tool in music mixing, allowing you to shape the frequency content of individual tracks and the overall mix. By adjusting the levels of different frequencies, you can enhance certain elements, reduce unwanted noise, and create a more balanced and engaging sound.

The Basics of EQ

  • Frequency: Refers to the pitch of a sound. Higher frequencies are associated with brighter, sharper sounds, while lower frequencies are associated with deeper, richer sounds.
  • Gain: Controls the volume of a particular frequency range. Boosting a frequency increases its volume, while cutting it reduces its volume.
  • Q: Determines the bandwidth of a frequency band. A narrow Q focuses on a specific frequency, while a wide Q affects a broader range of frequencies.

Types of EQ

There are several types of EQ, each with its own characteristics and uses:

  • Shelving EQ: This type of EQ affects a wide range of frequencies on one side of a cutoff frequency. It’s often used to boost or cut low or high frequencies.
  • Peak EQ: This EQ focuses on a specific frequency band, allowing you to enhance or reduce a particular frequency.
  • Notch EQ: Similar to a peak EQ, but with a narrower bandwidth, making it ideal for removing unwanted frequencies like hums or resonances.
  • High-pass and Low-pass Filters: These filters remove frequencies above or below a certain cutoff frequency, respectively. They’re often used to clean up a signal by removing unwanted noise or artifacts.

EQ Tips for Mixing

  • Start with a flat EQ: Begin with a neutral EQ curve and gradually make adjustments as needed.
  • Listen actively: Use your ears to determine which frequencies need attention.
  • Use reference tracks: Compare your mix to professionally produced tracks in the same genre to identify areas for improvement.
  • Experiment: Don’t be afraid to try different EQ settings and techniques.

Common EQ Applications

  • Enhancing instruments: Boost specific frequencies to highlight the unique characteristics of different instruments. For example, boosting the mid-range frequencies of a guitar can make it sound more present in the mix.
  • Reducing unwanted noise: Use notch EQ to remove hums or resonances caused by equipment or recording environments.
  • Creating balance: Adjust the EQ of different tracks to ensure they blend well together and don’t clash.
  • Shaping the overall tone: Use shelving EQ to brighten or darken the overall sound of a mix.

Understanding Compression in Music Mixing

Compression is a fundamental technique in music mixing that can significantly impact the overall sound of a track. By reducing the dynamic range (the difference between the loudest and quietest parts), compression helps to control volume fluctuations and create a more consistent and engaging listening experience.

How Does Compression Work?

Compression works by lowering the volume of loud signals and raising the volume of quiet signals. This process is achieved using a ratio, which determines how much the signal is compressed. For example, a 2:1 ratio means that for every 2 dB of gain reduction applied to the loudest part of the signal, only 1 dB of gain is added to the quietest part.

Common Compression Types

There are several types of compression commonly used in music mixing:

  • Peak Limiting: This is often the final stage of mastering and is used to prevent audio from exceeding a certain level, preventing distortion.
  • Fast Attack, Fast Release: This setting is ideal for controlling transient peaks, such as drum hits or guitar strums.
  • Slow Attack, Slow Release: This setting can be used to create a more sustained and pumping effect, often used in dance music.
  • Multi-Band Compression: This technique allows you to compress different frequency bands independently, providing more control over the overall sound.

Benefits of Compression

  • Controls Dynamics: Reduces volume fluctuations, making the mix more consistent and easier to listen to.
  • Increases Perceived Loudness: Can make the mix sound louder without increasing the overall level.
  • Shapes Tone: Can be used to add warmth, punch, or sustain to a sound.

Tips for Using Compression

  • Start with a Low Ratio: Begin with a low ratio to avoid squashing the dynamics too much.
  • Listen Carefully: Pay attention to how compression affects the tone and character of the sound.
  • Use a Threshold: Set a threshold to determine at what level the compression starts to take effect.
  • Experiment with Attack and Release: Adjust the attack and release settings to achieve the desired effect.
  • Consider Multi-Band Compression: Use multi-band compression to target specific frequency bands and avoid affecting other parts of the sound.

By understanding the basics of compression and experimenting with different settings, you can effectively control the dynamic range of your mix and create a more polished and professional-sounding track.

Mastering Reverb: A Guide for Music Mixers

Reverb is a powerful tool in music mixing that can add depth, atmosphere, and realism to your tracks. It simulates the sound of a sound wave reflecting off of surfaces, creating a sense of space and ambiance. In this blog post, we’ll explore how to effectively use reverb to enhance your mixes.

Understanding Reverb

Before diving into techniques, let’s clarify some key terms:

  • Decay: The length of time it takes for the reverb to fade out.
  • Pre-delay: The amount of time before the reverb starts to decay.
  • Damping: The amount of high-frequency attenuation applied to the reverb.
  • Diffusion: The amount of randomness or variation in the reverb’s reflections.

Common Reverb Types

  • Room Reverb: Simulates a small to medium-sized room.
  • Hall Reverb: Simulates a large, reverberant space like a concert hall.
  • Plate Reverb: Creates a metallic, synthetic sound often used in pop and rock music.
  • Spring Reverb: Produces a vintage, tremolo-like effect.

Effective Reverb Usage

  1. Enhance Vocals: Add a subtle amount of room reverb to vocals to create a more natural and present sound. Avoid excessive reverb that can make vocals muddy.
  2. Create Ambiance: Use hall or plate reverb to create a sense of space and atmosphere in instrumental tracks.
  3. Add Depth: Apply a small amount of reverb to drums to add depth and dimension.
  4. Experiment with Pre-Delay: Adjust the pre-delay to control the distance between the dry signal and the reverb. A longer pre-delay can create a more spacious sound.
  5. Use Reverb as an Effect: Experiment with using reverb creatively as an effect. For example, try applying it to a guitar solo for a more atmospheric sound.
  6. Avoid Overuse: Reverb can be a powerful tool, but overuse can make a mix sound muddy and cluttered. Use it sparingly and judiciously.

Tips for Mixing with Reverb

  • Listen carefully: Pay attention to how reverb affects the overall balance of your mix.
  • Use reference tracks: Compare your mix to professionally produced tracks to gauge the appropriate amount of reverb.
  • Experiment with different types of reverb: Try different reverb types to find the one that best suits your music.
  • Automate reverb: Use automation to create dynamic and interesting reverb effects.

By understanding the basics of reverb and following these tips, you can effectively use this powerful tool to enhance your music mixes.

Mixing Tips

  • Listen Actively: Pay close attention to every detail of your mix. Use headphones and studio monitors to listen from different perspectives.
  • Take Breaks: Mixing for extended periods can lead to fatigue. Step away from your setup for a while to get a fresh perspective.
  • Reference Tracks: Compare your mix to professionally produced tracks in the same genre. This can help you identify areas for improvement.
  • Experiment: Don’t be afraid to try different techniques and settings. Mixing is a creative process, so experiment and have fun!

Conclusion

Mixing music can be a rewarding and challenging experience. By following these guidelines and practicing regularly, you can develop your skills and create professional-sounding mixes. Remember, the key to successful mixing is patience, experimentation, and a good ear.

Read More

Fender Player II Modified Range

Fender Player II Modified Range

Introducing the Fender Player II Modified Range: Classic Style, Modern Power Fender is back with a bold evolution of its iconic instruments — the Player II Modified range. Designed with the modern musician in mind, this new lineup combines timeless Fender...

read more
Beginners Guide to Music Production

Beginners Guide to Music Production

Introduction Ever wondered how your favorite artists create those infectious melodies and thumping basslines? The answer lies in the realm of music production. With the right tools and a little creativity, you can transform your musical ideas into tangible tracks....

read more
Affordable Home recording Tips & Tricks

Affordable Home recording Tips & Tricks

In the past, setting up a quality recording studio was a daunting and expensive task, requiring extensive soundproofing, high-end equipment, and expert technical knowledge. However, with the rise of digital technology, home recording has become increasingly accessible...

read more
×


Hello!

Click one of our contacts below to chat on WhatsApp

× How can we assist you?